Configuring interactions
The SELECTION tab enables interactions between certain Widgets and allows users to select and visualize only the desired data without using a filter action.
This selection operation can be performed on Widgets such as Plots and Tables.
Once the desired attribute has been added onto the widget, users need to hold down the mouse and drag the cursor on it to start the selection operation.
At this point an outlined selection square will appear and enable users to select the desired data. It is important that the edge of the graphical objects, such as bars for the Vertical Bar charts or circles for the Scatter Plots are included in the selection square, otherwise the operation won’t be properly performed.
If another attribute is dragged onto the Color target dimension, by clicking one value in the legend, only the data of the selected value will be visualized.
In order to cancel any selection users can simply double-click any empty spot of the widget.
Example
The following example explains how to configure the SELECTION tab options.
In particular, it will be shown the effect of the two different Action types (Filter and Selection) on Widgets.
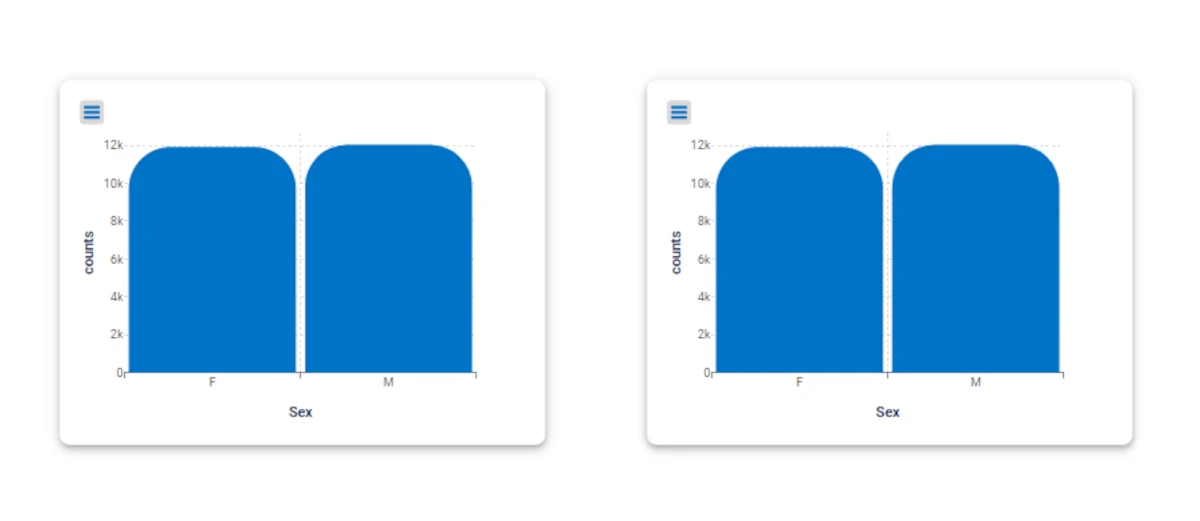
In this case we are going to use two Vertical Bar chart widgets and the attribute Sex from the Client Data dataset.
Drag the attribute Sex and drop it onto the X Axis of both Plots.
- Double-click on the widget frame of the first plot to open the Layout options.
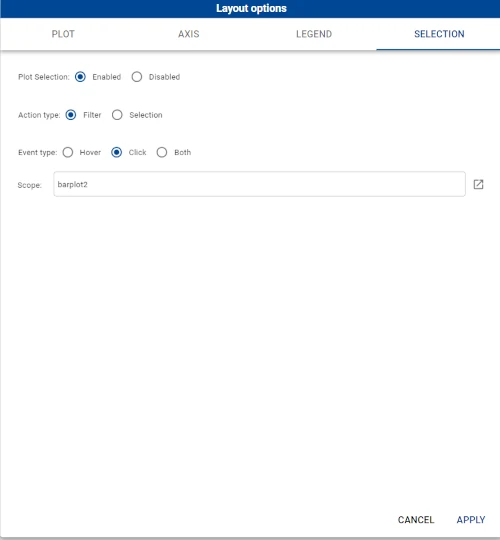
Then, in the SELECTION tab configure the following entries: Plot Selection as Enabled
Action Type as Filter
Event Type as Click
In the Scope area leave barplot2, which is the name of the other plot on the slide.
- Double-click on the widget frame of the first plot to open the Layout options.
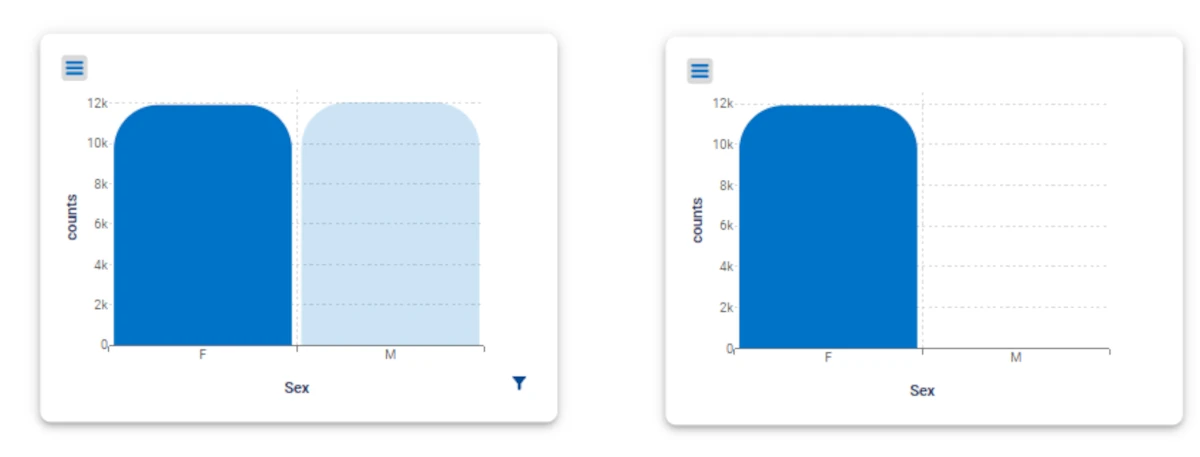
Click on the Female bar in the first plot, and you will notice that, the second plot will only show the filtered data, namely the Female bar.
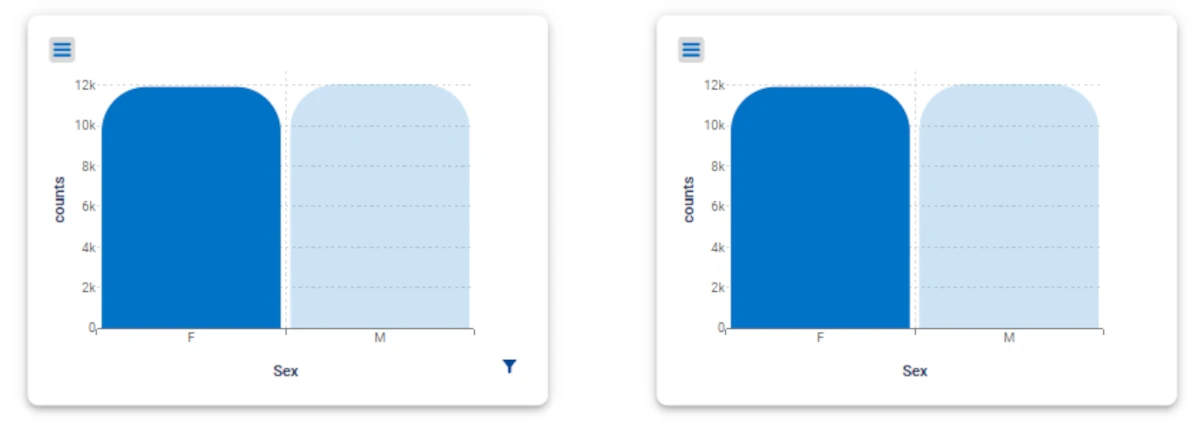
Now, open again the Layout options and leave all the entries as before except for the Action Type, where you have to choose Selection.
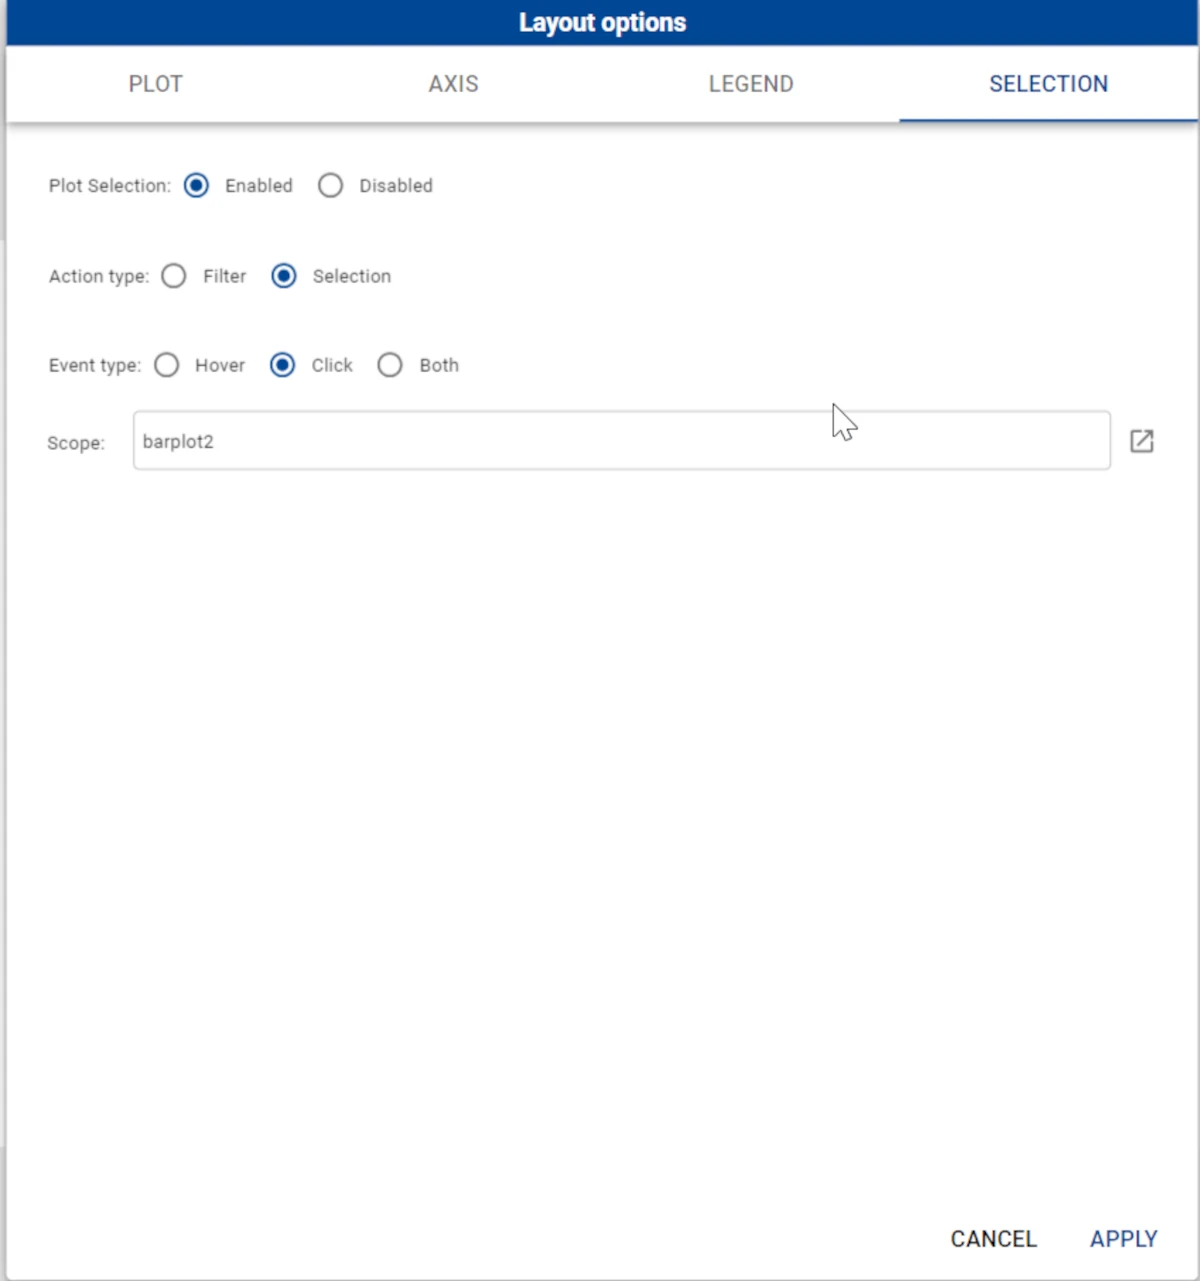
Click on the Female bar of the first plot, and you will notice that in the other plot, the Female bar will appear as selected while the Male bar will appear as grayed out.
