Documenting a Flow
Frequently, a flow implements a business logic that is anything but trivial. It is therefore very useful to be able to trace and document all the steps computed by the flow in various tasks or to provide more information about data and operations performed behind the pure flow topology.
In Rulex Factory, the Documentation tab is there to perform this functionality. For more information on this tab, see section: Documentation tab.
Here we are going to focus on the various procedures which allow the user to edit flow and task documentation.
In this tab, it is possible to associate documentation with the entire flow as well as with each individual task within it. As a rule, you associate documentation with the flow when you want to keep track of the flow logic or if you want to have an overview about the problem solved by the current procedure.
To edit the flow documentation, follow the steps below:
Procedure
Click on the Documentation tab at the left-hand side of the stage window.
Click on the pencil icon at the upper right side of the left panel.
Insert and customize the documentation for the flow overview in the Documentation Editor.
Click on Save to make your modifications persistent or on Discard to erase your editing.
whereas for single tasks follow this procedure:
Procedure
Click on the Documentation tab at the left-hand side of the stage window.
Double-click on the line of the task you want to document.
Insert and customize the documentation for the selected task in the Documentation Editor.
Click on Save to make your modifications persistent or on Discard to erase your editing.
Documentation Editor
The Documentation Editor can be used to insert and customize your documentation for the entire flow or for any single task.
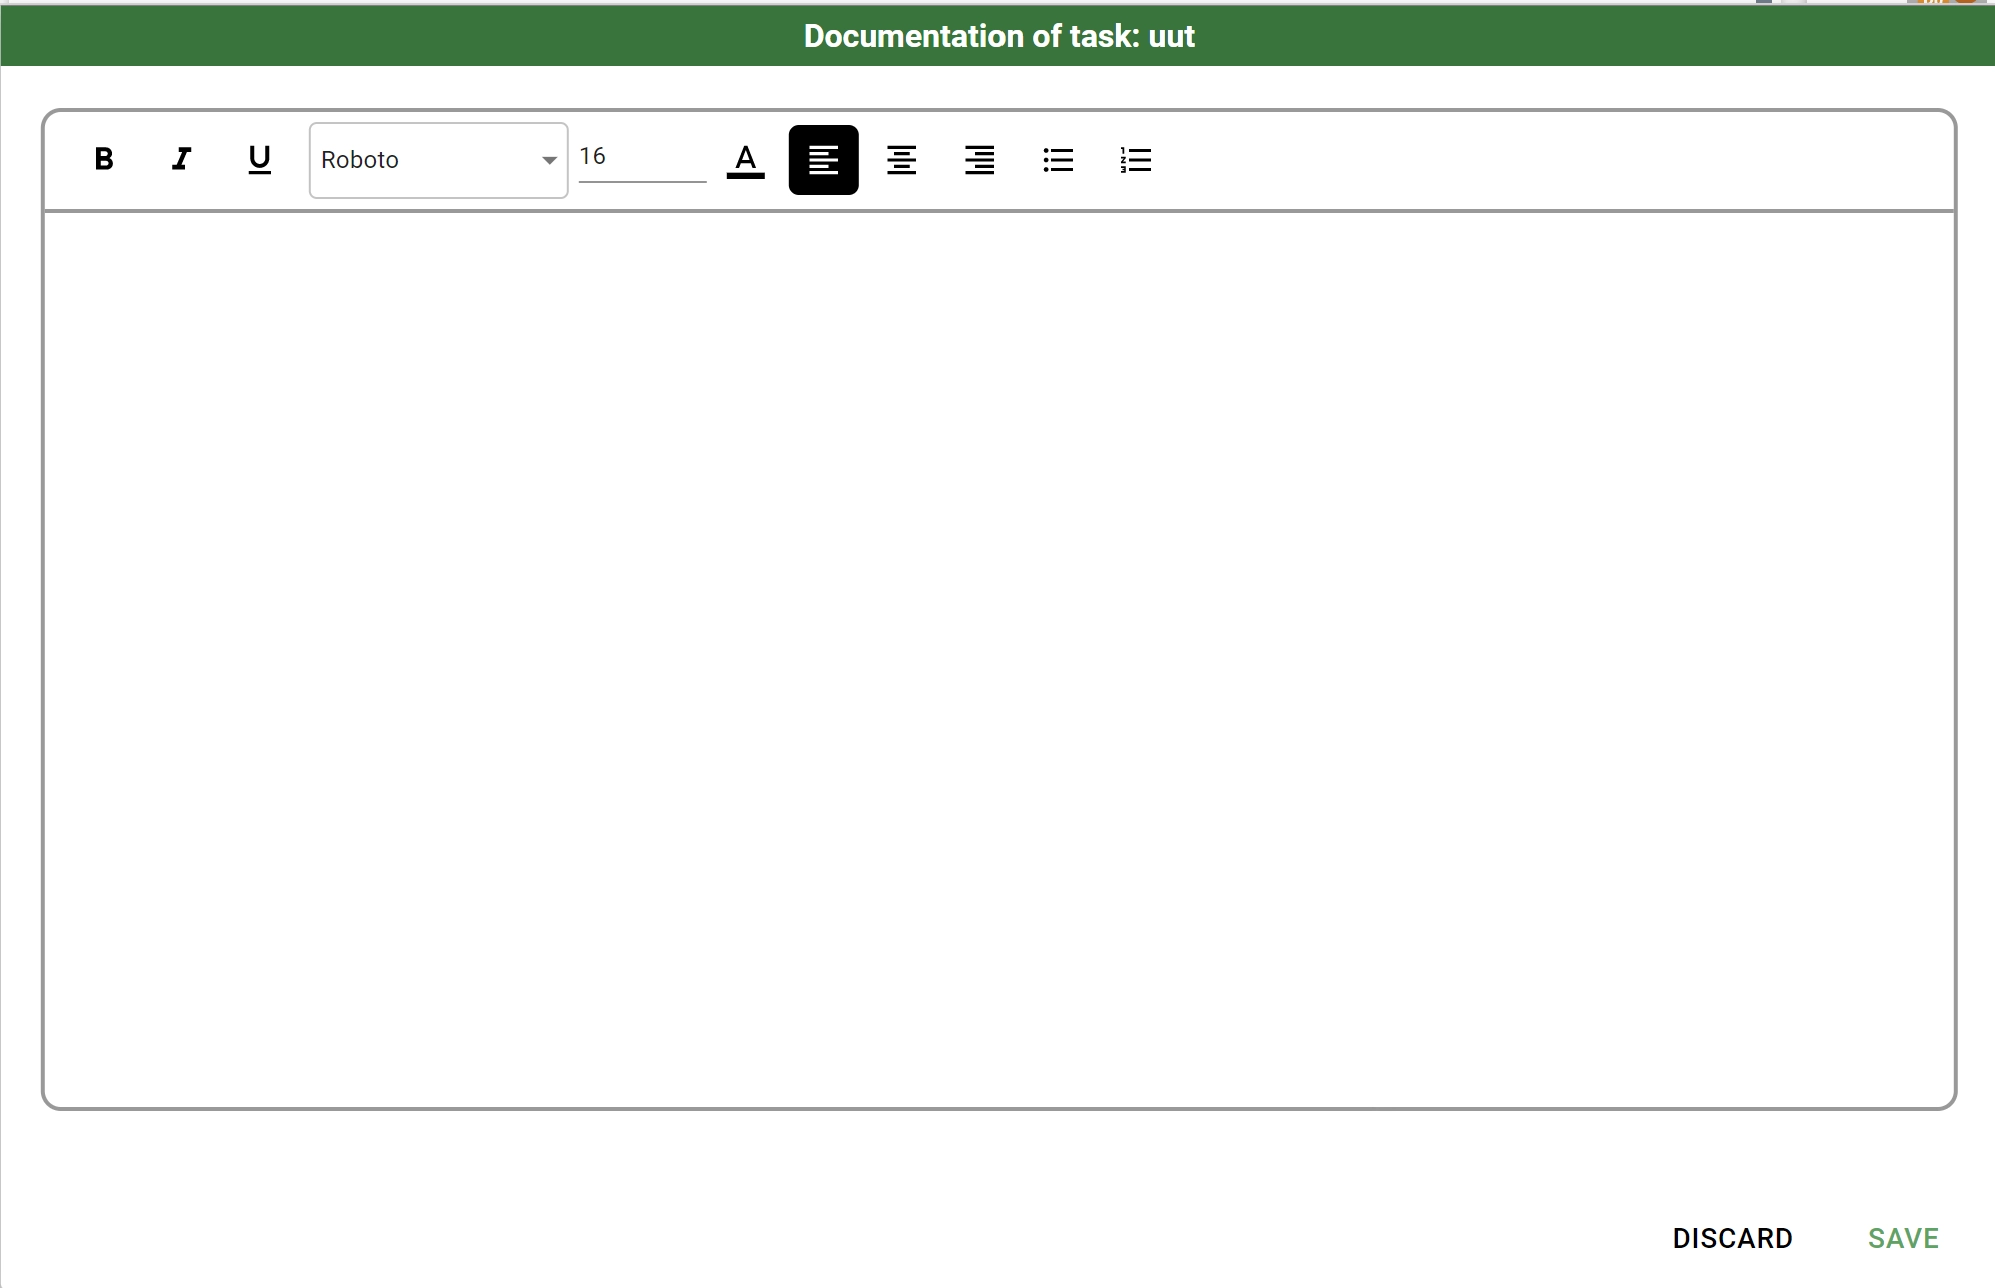
In this editor you can write plain text and change its formatting options like font, size and color.
The Documentation Editor is divided into a menu bar and a text area where you can freely write your own notes and logic.
The menu bar allows you to customize your text. Available options are:
Bold
Italic
Underline
Font family
Font size
Font color
Left Alignment
Center Alignment
Right Alignment
Bullet list
Number list
As in any other standard text editor you can apply these customizations to the whole text or to a part of it.
Autofilling a task
Rulex Factory offers users the possibility to automatically document any task by describing its most common operations and position in the flow. The position of tasks in a flow will be shown to users by means of a parent-child task hierarchy within the relative exported documentation file. You can also use this auto-documentation feature as a starting point for future customization.
The autofill functionality can be applied to a set of tasks rows from the Documentation tab by selecting them and then by right-clicking and choosing the Autofill option from the corresponding context menu.
You can also automatically autofill all the still empty task entries directly during exportation to file phase of your documentation, by selecting the desired value in the Autofill empty spaces drop-down list within the Export documentation dialog box.
The Autofill option will generate automatic documentation by inserting your option values or your history in the selected task into a pre-defined sentence. If needed also information about input / output task names is used.
Procedure
Click on the Documentation tab at the left-hand side of the stage window.
Select the task rows you want to autofill by pressing the Ctrl key to select multiple and far apart task lines or press Shift to select all documentation rows at the same time.
Right-click on one of the selected lines to open the context menu, then click on the Autofill option to autofill documentation rows.
Exporting the documentation
Once you have written down your notes and logic, to share with your colleagues or leaders, this needs to be exported as a file. In particular Rulex Factory exports flow documentation in a PDF file format.
To export documentation, click on the Export documentation icon in the upper right side of the Documentation tab.
Like in many other Export dialog boxes in Rulex Platform, you now have to configure the Filesystem connection and select the folder where you want to export your documentation file. For more information about how to configure a Filesystem connection, please see section: Configuring a Filesystem connection.
The file name will be generated automatically as follows: RulexDocumentation_<date>_<hour>.pdf with date and time of the export process.
Use the text field Insert the desired file name to define a custom file name.
The other option available in the documentation Export dialog box is the Autofill empty spaces option. This functionality manages the auto-documentation feature for all task entries for which no specific documentation has been defined. It can take three possible values:
None: no autofill procedure is performed
Only flow: all the documentation free tasks of the selected flow will be autofilled in the PDF file.
Both flow and module: all the documentation free tasks of the selected flow will be autofilled, as well as all the documentation free tasks of all the modules contained in the selected flow will be autofilled in the PDF file. For more information about module tasks, see section: Module Tasks.
Procedure
Click on the Documentation tab at the left-hand side of the stage window.
Click on the Export documentation icon at the upper right side of the left panel.
Select from the DESTINATION slider, whether you want to export your documentation to a previously saved location, or to a custom one.
Choose from the drop-down list, whether you want to export the documentation file to your computer or to a remote connection (see filesystem description). If you are exporting to a remote connection, choose it from the list, and then click on the pencil icon to set the connection information required.
Click the SELECT button and browse to the location of the folder where you want to export.
Write the file name in the Insert the desired file name field and choose the Autofill empty spaces policy.
Click Export. When the progress bar reaches 100%, your exported documentation will be saved in the previously specified location.
Exported documentation format
Documentation is exported to PDF file formats. PDF files are divided into the following parts:
Header: it contains the Rulex Platform logo image.
Flow name
Flow documentation overview
Image of the stage: it shows the flow topology. This image is replaced by a placeholder if the canvas size exceeds 2000 px in width or height.
- Initial Flow’s configuration: divided into:
Code Variables: displayed as a table with Name/Source/Value columns.
Vault Variables: displayed as a table with Name/Source/Value columns.
- Task Description: filled with only documented or autofilled tasks; each of them having
Task icon: describing the category of the task.
Task name
Parents: name of input tasks
Children: name of output tasks
Task documentation
Appendix: one for each documented module, they own the same form of a complete flow documentation just presented but referred to the flow pointed by the module task.