Rulex Platform Cloud
Rulex Platform Cloud deployment is completely automated using the modern HELM technology which allows to script all the delivery procedure.
This page is divided into two subsections:
the Installation section, where the steps to perform on the shell are listed, along with the possible arguments.
the First Access Configuration section, which outlines the steps to perform on Azure and details how to configure the First User Access page for an Azure account.
Installation
The following items are needed before installing the cloud version of Rulex Platform:
Helm Chart which acts as a package manager to manage and deploy applications in a cluster.
Product Key
First User Access, if Rulex Authentication Server is deployed.
Note
These items will be provided by the Rulex Sales team before installation.
The following prerequisites are the minimum parameters required to deploy Rulex Platform cloud:
Prerequisites
Area |
Minimum values (if applicable) / notes |
|---|---|
Orchestrator services |
Kubernetes (1.25.x or higher) or OpenShift (4.12.x or higher). |
Cluster |
The cluster must be sized according to the established usage, the minimum required is 4 nodes, each one with 8 vCPU, 32 GB Ram. |
Ingress Controller |
HTTP 2 must be enabled. |
TLS Certificate |
|
DNS |
The DNS must be configured to connect to the cluster. |
NFS Filesystem |
The system must belong to a Storage Class Read-Write Many, with 1800 IOPS and a size of 2TB. |
RabbitMQ operator |
RabbitMQ will be used as an internal broker. |
Docker registry |
This docker registry must be mirrored with Rulex Docker Registry to download base images of Rulex Platform microservices. |
Helm |
Helm must be installed in the same environment as the Kubernetes CLI (or OpenShift CLI in the case of an OpenShift Orchestrator). |
Network Connectivity |
The client must have access to the Rulex License Manager: |
The following requirements are optional, depending on customer’s needs:
Database PostgreSQL, if Rulex Authentication Server is present. The following are recommended:
Azure Database for PostgreSQL,
Amazon RDS for PostgreSQL,
BigAnimal,
Cloud SQL for PostgreSQL,
Crunchy Bridge,
Crunchy PostgreSQL for Kubernetes,
EnterpriseDB.
Keda, to enable Rulex Platform autoscaling.
Service Mesh operator, to further encrypt AMQPS calls and convert them into standard HTTPS calls (Istio Service Mesh is recommended).
To deploy Rulex Platform cloud, follow the steps below:
Procedure
Define the required parameters in the YAML settings file, whose values will then be used in the PowerShell command in Step 2.
The following are the most important arguments to set:
Argument
Name
Description
Type
Name
platform.hostname
Domain name assigned to the cluster.
string
Authentication Server
msAuth.enable
If true, the authentication server will be installed.
bool
Authentication Server Username
msAuth.adminUsername
Authentication server admin username.
string
Authentication Server Password
msAuth.adminPassword
Authentication server admin password.
string
Persistent volume configurations
persistentVolume.enable
If true, a persistent volume and the secret with the StorageAccount credentials are created.
bool
Persistent volume Storage class
persistentVolumeClaim.storageClassName
Name of the storage class.
string
Persistent volume Storage definition
persistentVolume.storageDefinition
Storage account driver and configuration.
yaml
Persistent volume Storage account secret
persistentVolume.storageAccountSecret
Storage account authentication secret.
yaml
Tip
The complete list of mandatory and optional parameters is available in the dedicated page: Cloud Settings (YAML).
Optional values have default values, which are used if such parameters are not specified in the YAML file. It is possible to find more information about the YAML format at the following link: https://yaml.org/.
An example of value settings in a YAML configuration file is described below.
platform:
   hostname: <to_fill>
msAuth:
   enable: true
   adminUsername: <username>
   adminPassword: <password>
persistentVolumeClaim:
   enable: true
   storageClassName: <to_fill>
persistentVolume:
   enable: true
   storageDefinition: {}
   storageAccountSecret: {}
Launch the following PowerShell commands:
$values_settings = "<file that contains all helm settings>"

# OPTIONAL: Configure the infrastructure (Ingress, Istio, ...)
helm install infrastructure $helm_registry/infrastructure --values $values_settings

# Deploy RuleX Platform
helm install platform $helm_registry/platform --values $values_settings
Finalize the deployment during your first access
After the deployment has been completed, log in into Rulex Platform using the URL
<hostname>/webWarning
The above-mentioned steps cover the standard scenario where the Rulex Authentication Server has been deployed.
First Access Configuration
To successfully finish Rulex Platform Cloud version deployment, it is required to perform the First Access Configuration, follow the steps listed below.
Warning
The following steps cover the standard scenario where the Rulex Authentication Server has been deployed.
Procedure
After the deployment has completed, log in to Rulex Platform using the URL
<hostname>/web, and enter the Username and Password provided by the Rulex Sales Dept.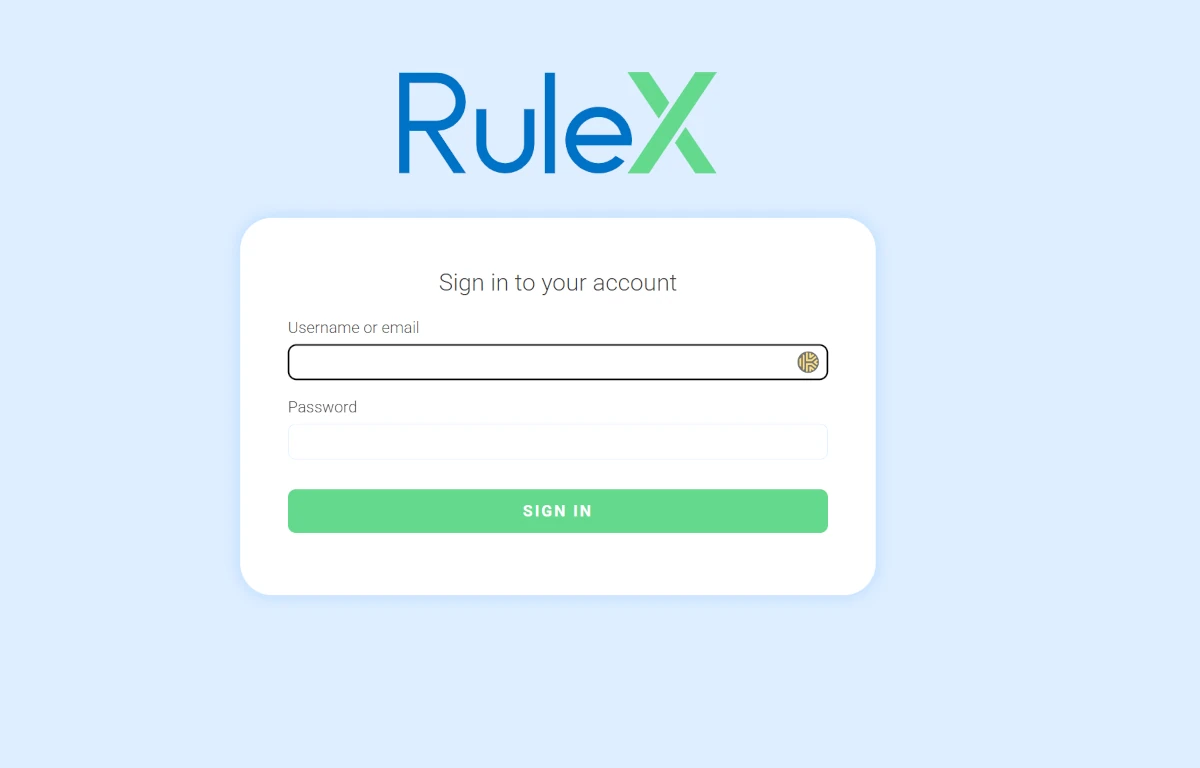
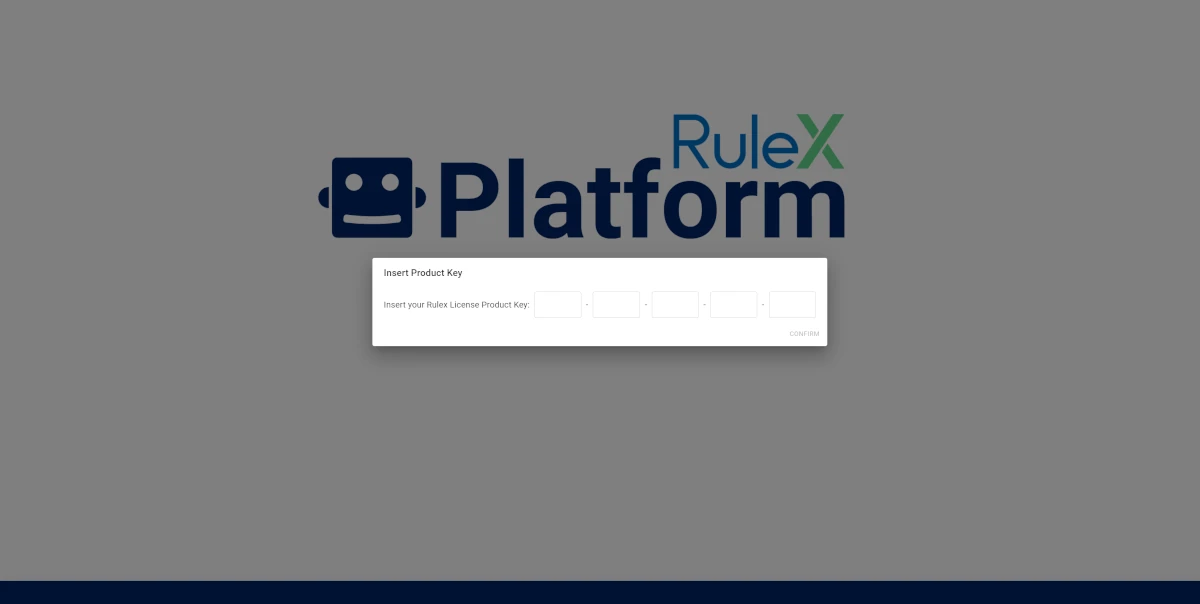
Insert the Product Key provided by the Rulex Sales Dept.
Configure the Authentication Single Sign On, connecting the Rulex Authentication Server to the external identity provider through OpenID/SAML protocol. (This operation can be skipped by clicking on the SKIP button.) The following identity providers are supported in Rulex Platform Cloud:
Google
Facebook
Microsoft Azure
AWS Cognito
Generic
Configure the First Access Configuration page as follows:
Identity Provider Name (Generic provider only): the name of the identity provider.
OpenID well-known endpoint: the OpenID well-known endpoint.
Client Id: the ID located in the application’s Overview page, associated with the Application (client) ID key.
Client Secret: the secret associated to the Client Id.
Scopes (Generic provider only): it overwrites the OpenID scopes of the call. If more scopes are specified, the must be separated by one white space.
Product Key Claim (optional): the Product Key. If it is left empty, the product key will be required when first accessing Rulex Platform Server.
Groups claim (optional): where the groups will be claimed. If not specified, the default is groups, that are the machine’s groups.
Roles claim (optional): where the roles will be claimed. If not specified, the default is roles, but in this configuration we have specified groups as it will take into account the groups in Azure.
Groups mapping (optional): this table can be filled to configure the groups. In the IDP Group column, the ID of the Azure Group must be inserted. In the Platform Group, type the name for the group in the current installation.
Roles mapping (optional): this table can be filled to configure roles within Rulex Platform Server. In the IDP Role column, the ID of the Azure Group must be inserted In the Platform Role, type the assigned role in Rulex Platform, according to the list available here.

Note
It is possible to configure multiple identity providers in Rulex Platform Cloud version.
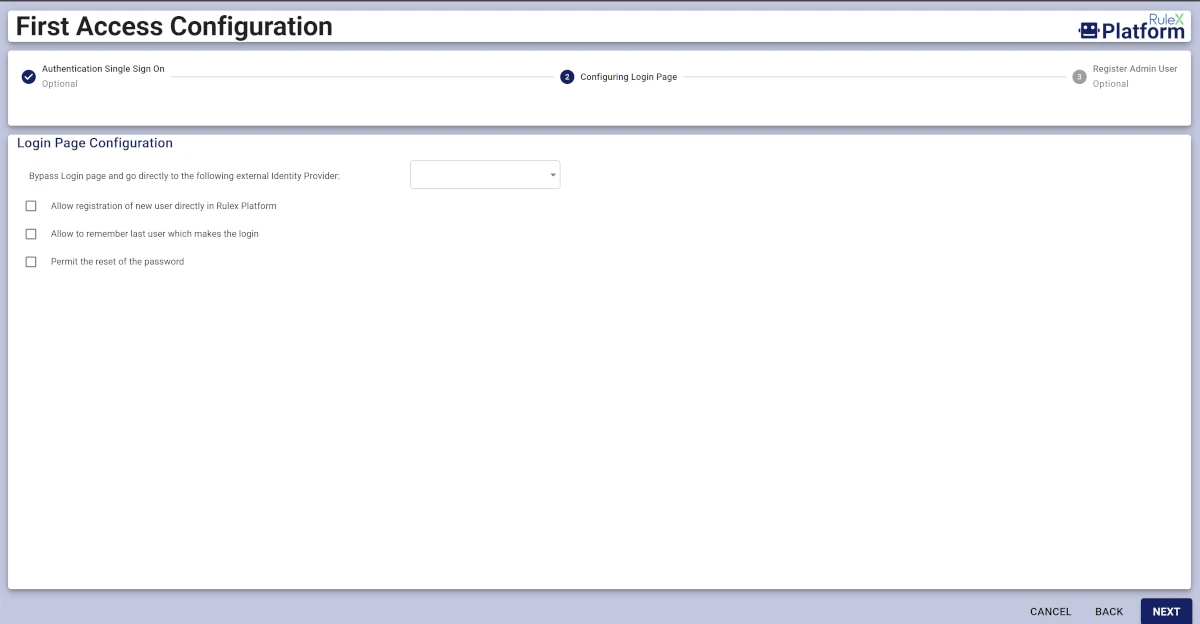
Configure the Login Page, by checking and unchecking the following options for the corresponding user and clicking NEXT:
Allow registration of new user directly in Rulex Platform
Allow to remember last user which makes the login
Permit the reset of the password
Bypass Login page and go directly to the following external Identity Provider: select from the drop-down list the identity provider which will be reached among the ones configured in the previous window.
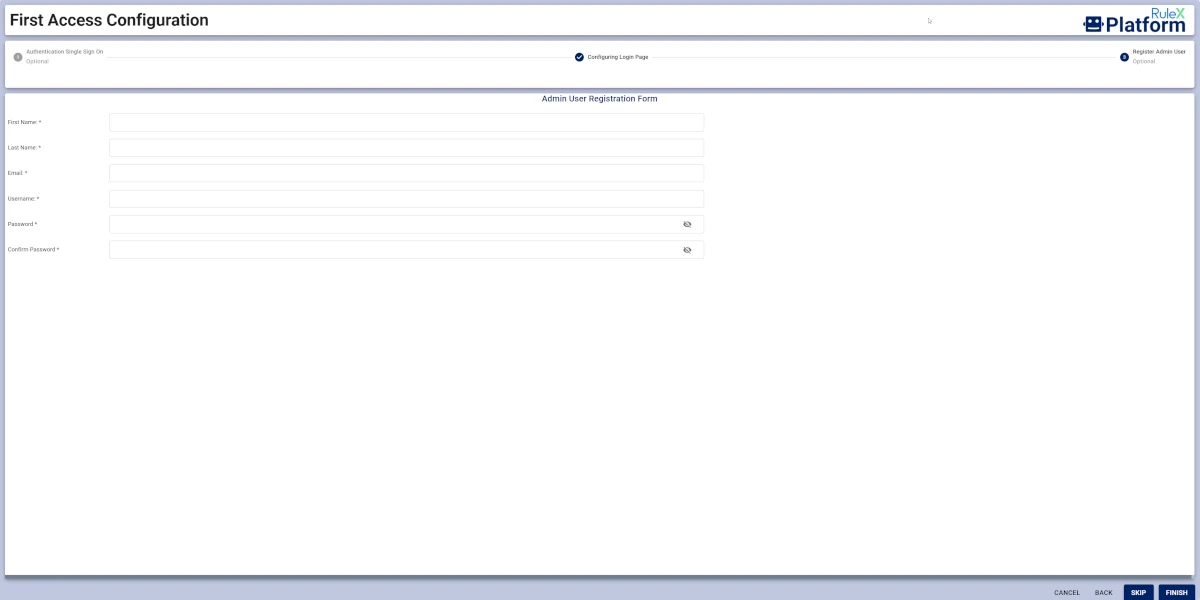
Configure the Admin User Registration Form by filling the following fields:
First Name
Last Name
Email
Username
Password
Confirm Password