File Manager
The File Manager task allows users to perform operations on files or folders directly into the chosen filesystem, without opening it.
It is the only manager task which is made of both options and history.
Even though this task has an input and an output, it doesn’t receive any input file, and it doesn’t produce any output file.
The fact that the File Manager has input and output links is due to graphical coherence, and to establish when it should operate during the flow computation, if priorities are not set.
The Files tab
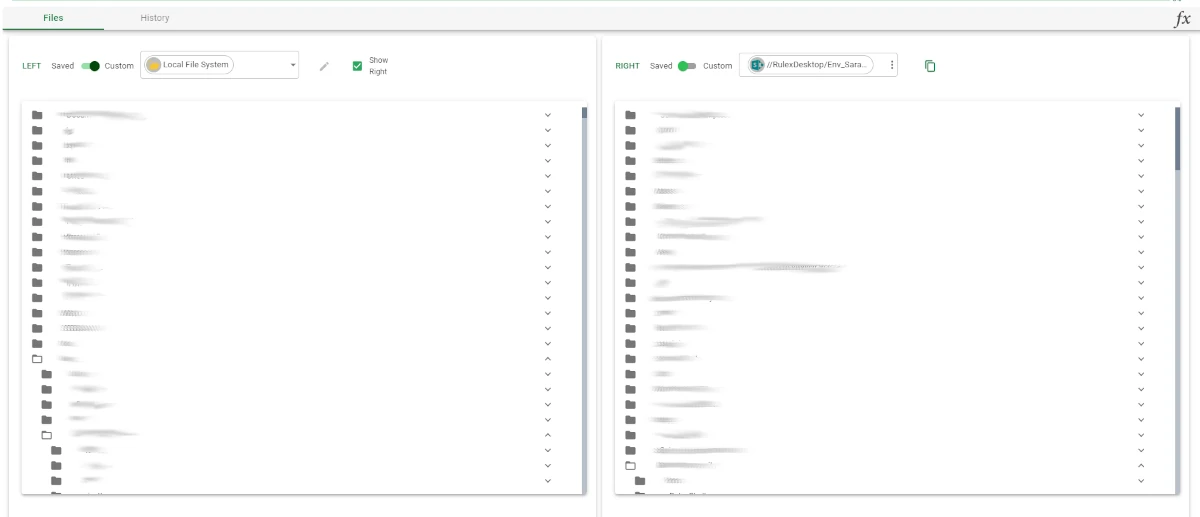
The Files tab in the File Manager task allows working directly on the folders through its interface, which can be split into two equal parts.
Once opened, this tab displays the LEFT pane, where the Local File System folders are listed by default. On the top part of this pane, users can choose if they want to use a Saved or a Custom resource.
If a Custom resource has been chosen, users can set a custom connection to one of the following filesystems:
ShareDrive Filesystem
Http Server
Ftp Server
Aws S3
SharePoint
HDFS
Azure BLOB Storage
Sftp Server
Google Drive
Outlook
Local File System
All the custom connections to the filesystems above, apart from the Local File System connection, can be set by clicking on the pencil icon, located next to the filesystems drop-down list. To know more about the required options for each filesystem, go to the corresponding page.
By selecting the Show Right checkbox, another pane displaying the Local File System folders is shown. The RIGHT pane has the same layout as the LEFT pane, and the same operations can be performed within it.
Each pane has a simple layout, as folders and files can be easily recognized not only by their icon, but also by an arrow located next to each folder to open it.
The following operations can be performed in the File Manager:
files and folders can be copied through folders or filesystems with a drag-and-drop operation.
files and folders can be moved through folders or filesystems with a drag-and-drop operation, while pressing the CTRL button on the keyboard.
Moreover, the following operations are available by right-clicking on the folder or on the file:
- Create (on folders only): users can perform creation operations on the folder. The possible operations are:
Create Folder: to create a new folder within the selected one.
Create File: to create a new file within the selected folder. Remember also to specify the file extension, the supported ones are: .txt, .xml, .json, .log, .xlsx, .xls, .xlsm, .parquet, .pdf, .docx.
Create Placeholder: to create a placeholder within the selected folder. The placeholder represents a file which is not existing yet, but will be added in the same folder, with the same name provided in the placeholder, for example with an export operation. Remember to specify the file extension, the supported ones are: .txt, .xml, .json, .log, .xlsx, .xls, .xlsm, .parquet, .pdf, .docx.
Rename: to rename the file/folder.
Delete: to delete the file/folder.
Tip
It is possible to operate in the File Manager task using specific shortcuts, which can at times force specific operations. The following shortcuts are available:
to perform a multiple selection on files or folders, press CTRL on the keyboard, then select the files/folders by clicking on the corresponding icon.
to move a file/folder from one filesystem to another, press SHIFT on the keyboard and keep it pressed while dragging the file from one pane to the other one.
to copy a file/folder from one filesystem to another, press CTRL on the keyboard and keep it pressed while dragging the file from one pane to the other one.
to delete a file/folder in either the right pane and the left pane, select the file/folder by clicking on it, then press canc or backspace.
to create a folder, select the folder where you want to create it and press CTRL+N on the keyboard.
to rename a file, select it and press F2 to rename it.
Parametric mode in the File Manager
In the File Manager, as in all the other tasks, the parametric working mode is available. To know more about the parametric mode and how it works, go to the corresponding page.
Through the parametric mode, which can be accessed by clicking on the fx button located next to each option or in the top-right corner of the task, users can change the following options:
both in the LEFT and RIGHT panels, users can change the source type.
in the file/folder window, which opens when renaming, creating, moving, deleting a file. By clicking on the fx button next to the file/path name, located on top of the window, users can change the path/file they are performing operations on.
in the file/folder text field in the file/folder window. By clicking on the fx button next to the file name, users can change the file name in parametric mode: this is the only way to change the file format.
The History tab
The History tab in the File Manager task works in the same way as in the other manager tasks.
To know more about it and about the operations available within it, go to the corresponding page.
Example
The following example uses a random text file. The aim is to copy the file, which has been exported locally, onto a Saved resource, a SharePoint connection.
After having exported the text file through an Export to Text File task, which has exported a text file to the Local File System, add a File Manager task onto the stage, and link it to the Export to Text File task.
- Double-click the File Manager task to open it, and configure it as follows:
Select the Show Right checkbox.
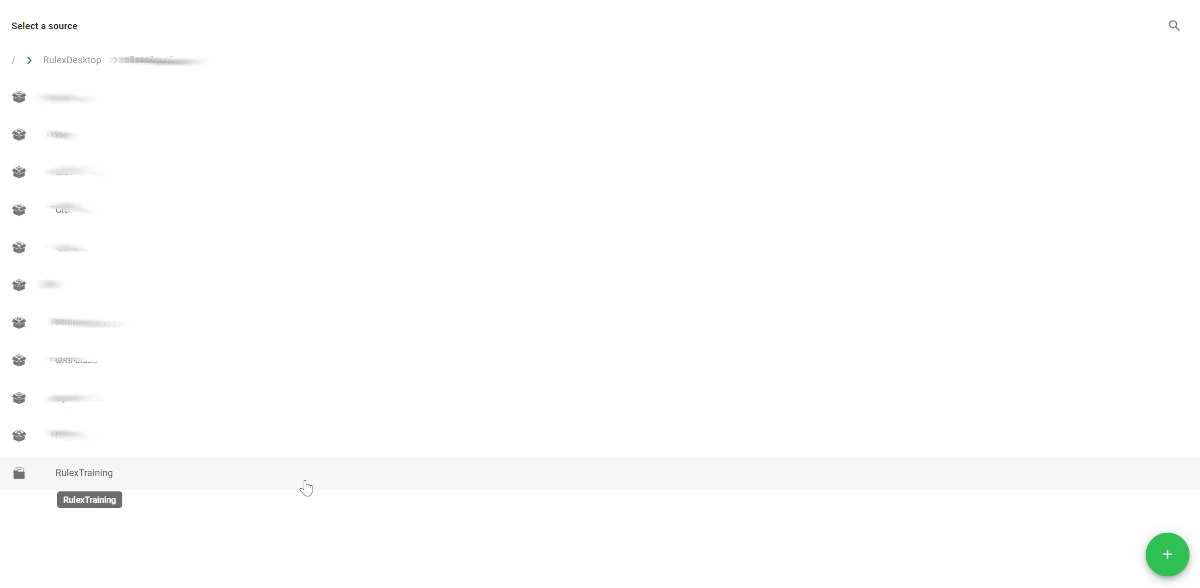
In the RIGHT pane, move the slider to Saved and click on the three dots to open the window where the saved resources are displayed.
Select the chosen connection: in this case, a SharePoint connection has been chosen.
In the LEFT pane, browse through the folders in the Local File System and select the file to be moved.
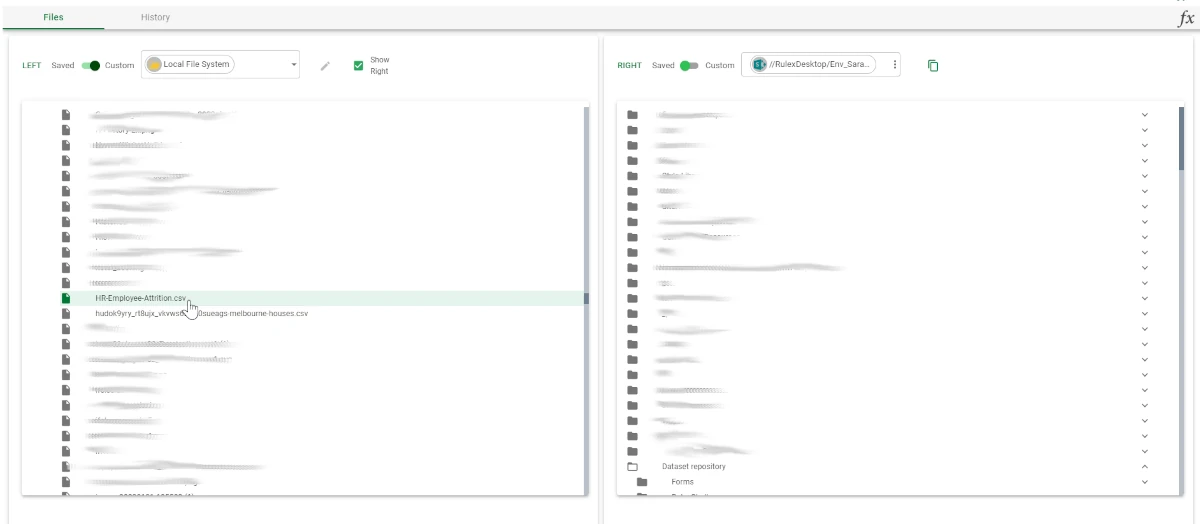
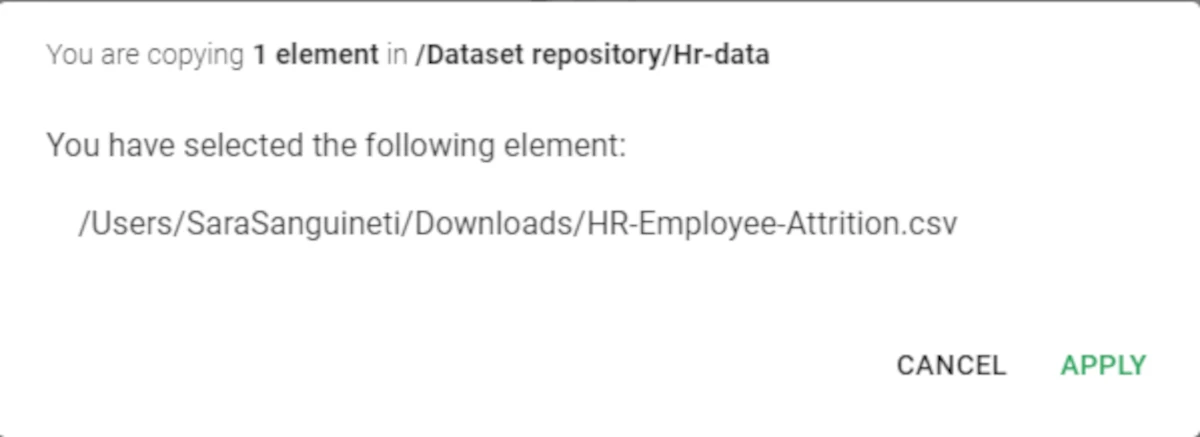
Then, drag the file and drop it onto the chosen folder in the RIGHT pane. Click APPLY on the window requiring the operation confirmation.
Save and compute the task to move the dataset.
Example - moving emails in Outlook
The following example uses a connection to an Outlook account, so that every time the File Manager task is computed, it cancels the emails received until two days before the current date.
After having built a flow, add a File Manager task to the flow and link it to a task.
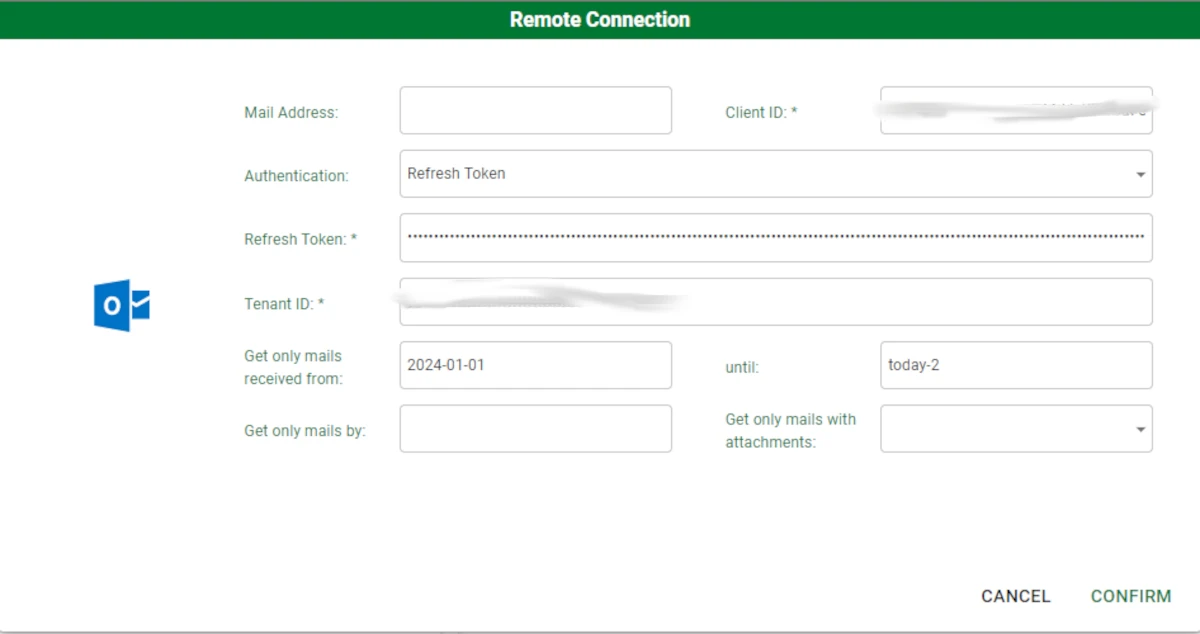
Double-click the File Manager task and configure a Custom Outlook connection: if you are specifying the date in the Get only emails received from or in the until fields, remember to write it in the following format: YYYY-MM-DD. You can also write ‘today’, and the system calculates the current date upon task’s computation.
In this case, we decided to import emails from 2024-01-01 to today-2.
Select all emails in the Inbox folder and move them to the Trash bin folder.
Save and compute the task to effectively move the emails.