Export to Word File
The Export to Word file task exports datasets or other data structures to a Word file.
The Export to Word File task is divided into two tabs:
the Options Tab (please refer to the page Export Overview for further information).
the Export Options, whose characteristics and description will be explained in the next section.
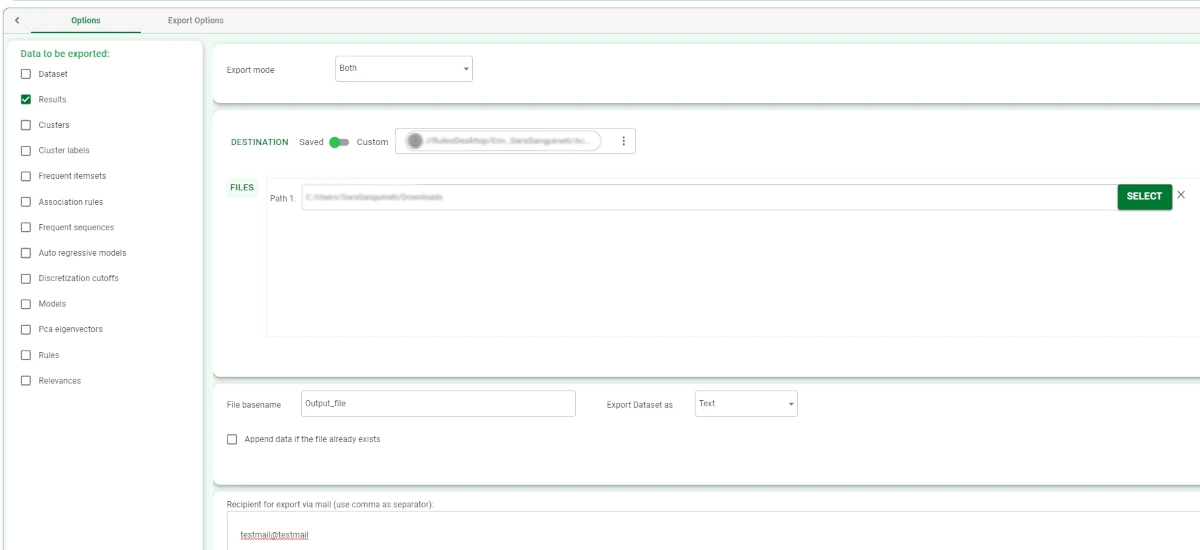
The Options tab
As mentioned in the Export Overview page, the Options tab contains:
the Location Controller, whose description is provided in the Export Overview page.
the File options, which contains all the same options for all export tasks, except for the File basename, whose details are provided below.
File basename
In the File basename pane, users will be able to set and configure the following options:
File basename: in this edit box, users can enter a name for the name that will be given to their exported file.
Export dataset as: through the drop-down list, users can choose to export their dataset as text or table.
Append data if the file already exists: if selected, the exported data will be appended to the file specified in the File basename option, if it already exists; otherwise the original data will be overwritten.
The Export Options tab
The Export Options tab is made of one pane: the Dataset Structure pane.
Dataset Structure
Within this pane, users can set and configure the following option:
Data separator: users can select the data separator which delimits the values of the data to be exported in the output text file.
Available options are:
COMMA
TABBING
SEMICOLON
SPACE
OTHER
String for missing values: in this edit box, users can type the character or string used to indicate missing values.
Text delimiter: through the drop-down list, users can select the desired symbol used to identify strings.
Put names in line (0 means ‘no names’): users need to choose the line where to put the attributes’ names. By default, the line is line n.1.
Put types in line (o means ‘no types): users need to choose the line where to put the attributes’ types. By default, the line is ‘0’, which means that no types will be included in the dataset.
Example
Drag an Export to Word File task onto the stage and link it to the task containing the data to export to it. Configure the selected task as explained in the sections above.
Please check that the dataset has been properly saved in the selected folder with the correct name.
According to the selected Word file, your Export to Word File task should look like the example provided below.