Transpose
Transposing datasets converts rows into columns and vice versa.
This conversion may be required to merge data tables prior to performing in-depth analyses.
The task interface is very minimal: it is made of only one tab, the Options tab, which contains a few options to set.
The Options tab
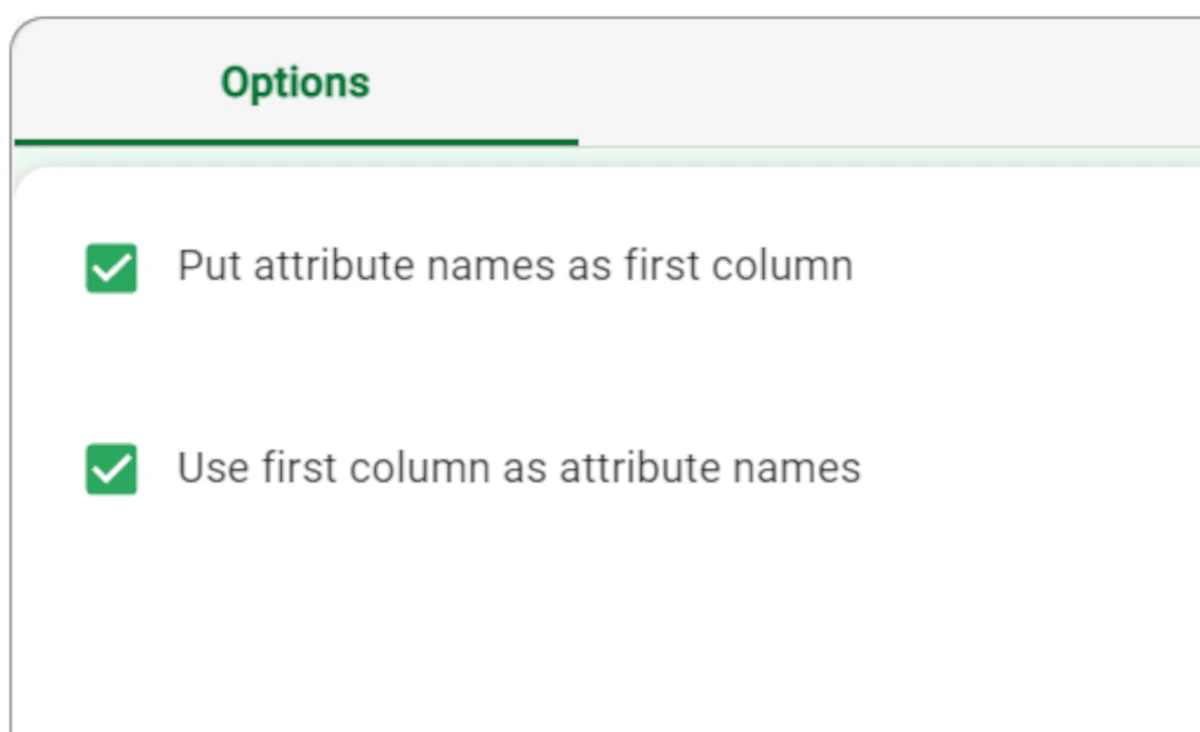
In the Options tab you can set the following parameters:
Put attribute names as first column: if selected, attribute names will be displayed as the first column in the transposed table. If not selected the attribute names will be removed in the resulting dataset.
Use first column as attribute names: if selected, the first column of the original dataset is used to determine the attribute names of the transposed table. If not selected generic names are employed.
Example
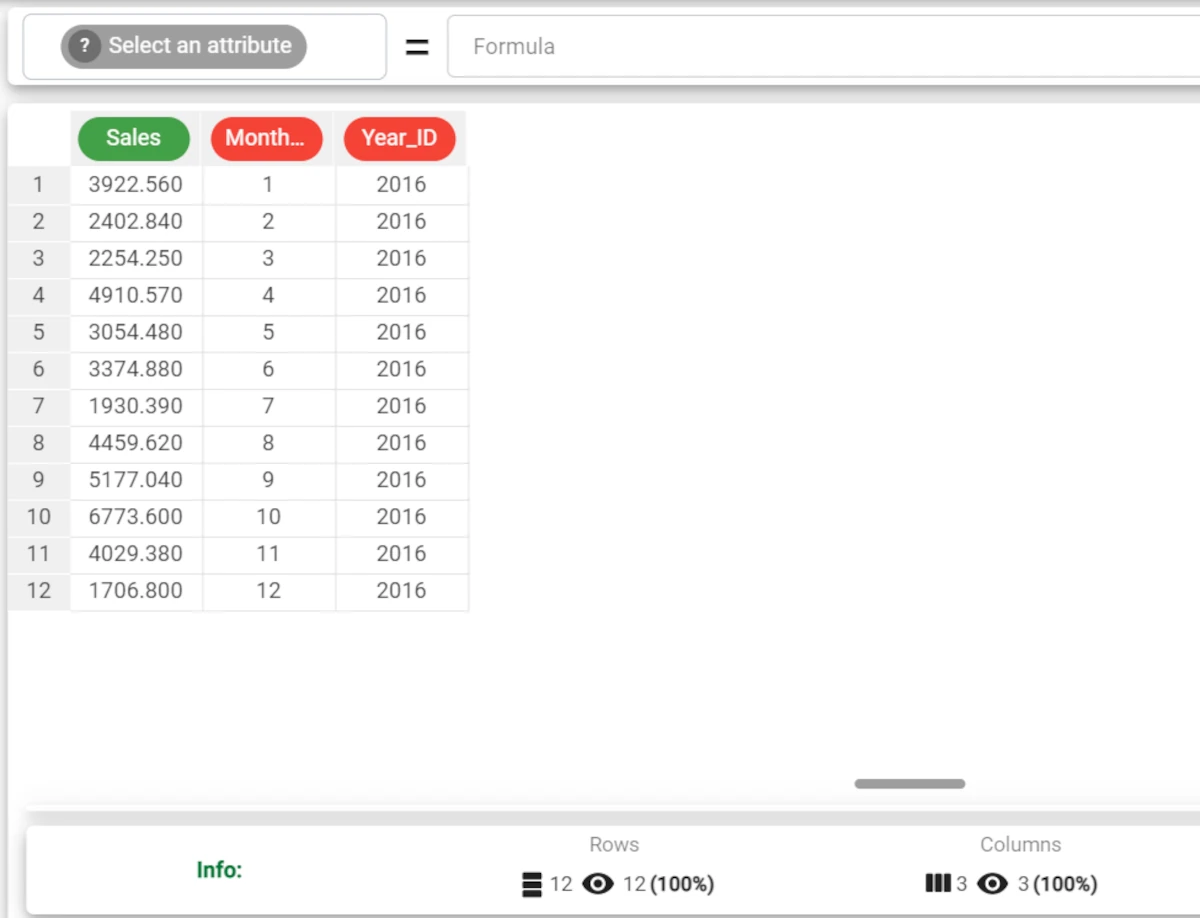
The following example uses the Sales dataset.
After having imported the dataset, right-click on the import task and select Take a look to check the data.
The dataset contains 3 attributes (2 integer attributes and 1 continuous attribute) and 12 rows.
Drag a Transpose task onto the stage and link it to the import task.
Double-click the task to open it and select both the Put attribute names as first column and Use first column as attribute names options (default value); then compute the task.
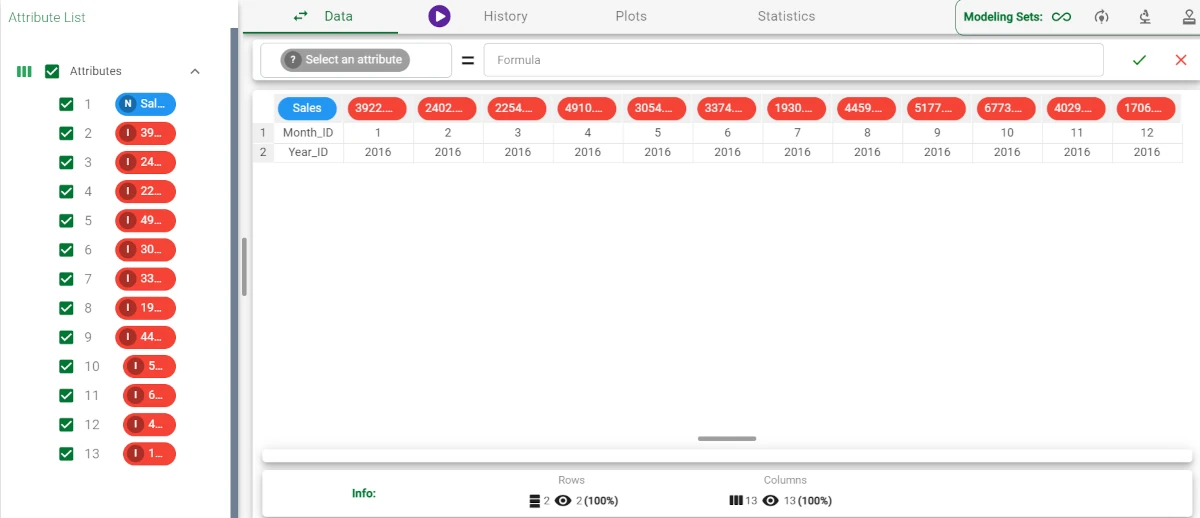
Drag a Data Manager onto the stage: as we can see, the columns Month_ID, Year_ID and Sales have been converted to rows.