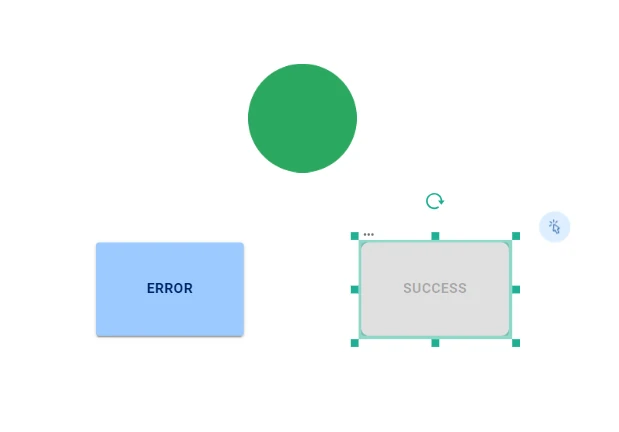
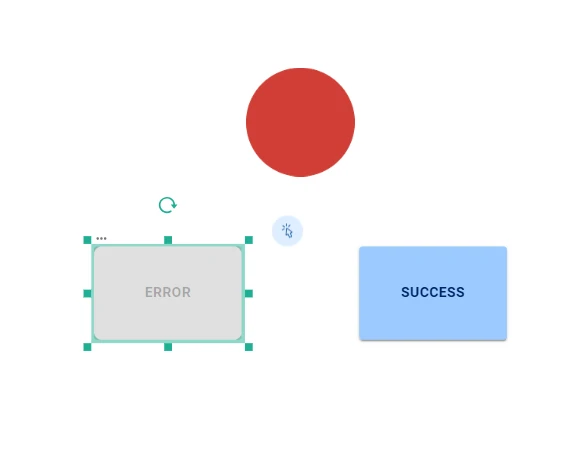
Change Layout Event
The Change Layout event modifies the layout of the chosen widgets in the current slide.
To set up the event, it is required to choose the widgets which will be affected by changes and to specify which layout changes will occur.
The event window is divided into two areas:
The List of Changes area, where users can define which widgets will be edited when the event is run: by clicking on the plus button, it is possible to add a change, which will be called Change and a progressive number next to it, starting from 1. Then, by clicking on the drop-down menu, it is possible to select the widget whose layout will be modified.
The Layout area, which shows the current layout options once the widget to change has been chosen. This area contains the corresponding widget’s layout menu. Visit each widget’s page to know more about its layout options.
Tip
To retrieve the widget’s name, users can check it in the Slides tab by clicking on the expand icon next to the slide’s name, or by clicking on the eye icon.
At the bottom of the screen, more options on the event running are provided, as listed here.
Example
To replicate this example it is required to have a view and a slide/dialog opened.
The final aim of this example is to create two buttons (button1, button2), which change a circle’s color by clicking on each of them. Specifically:
button1 will change the circle’s color to red, activating button2 and deactivating itself.
button2 will change the circle’s color to green, activating button1 and deactivating itself.
Drag one Circle (shape widgets) onto the slide.
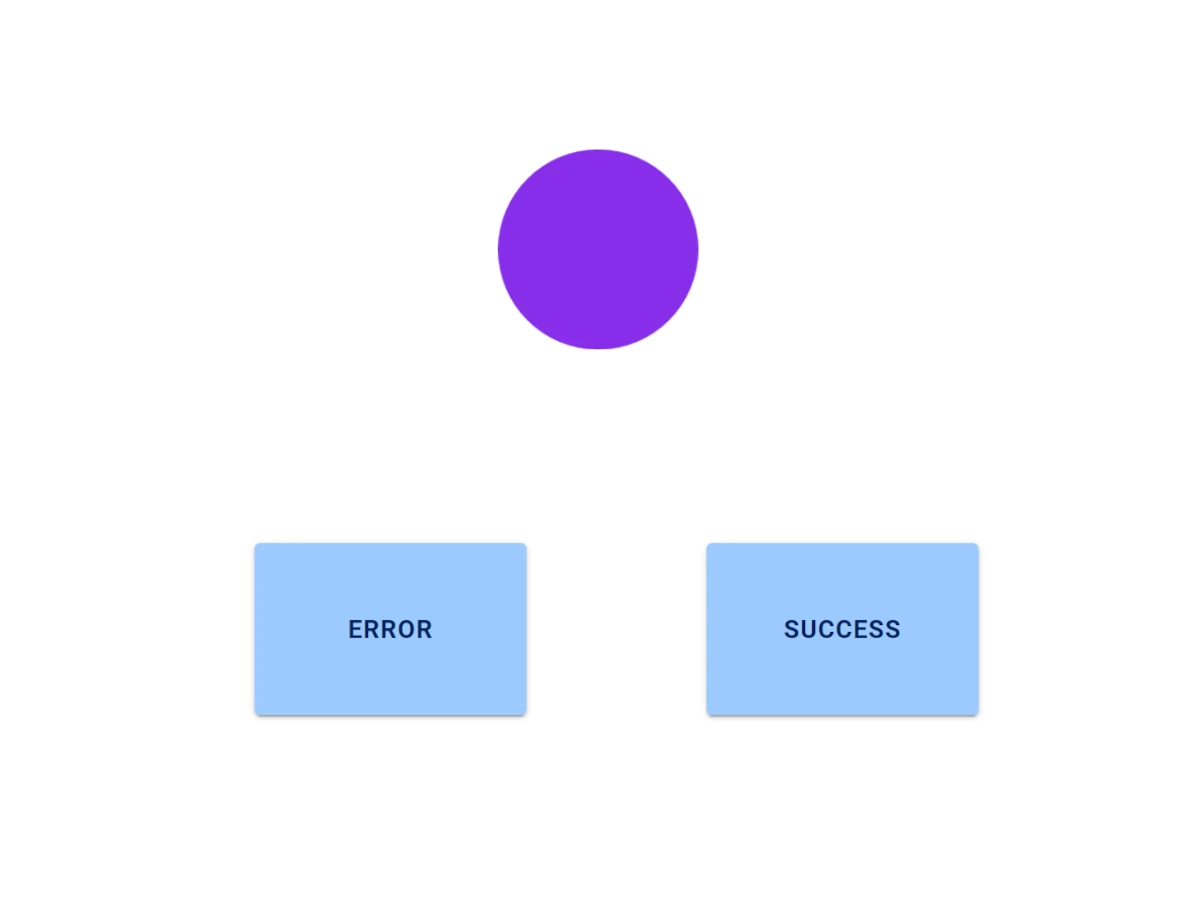
Then, add two General buttons, going left to right, so that they will be button1 and button2.
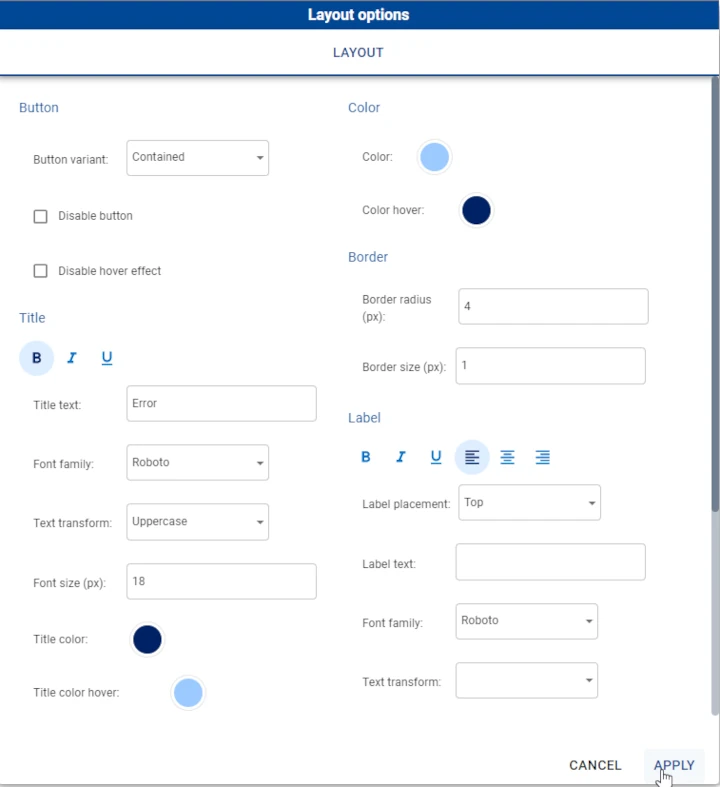
Right click on button1, then select Open widget layout.
In the Title > Title text, type: Error. Then, click APPLY.
Repeat the two steps above with the button2, which becomes Success. (from now on, these buttons will be called using their title)
Right-click on the circle and select Open widget layout. In this case, we decided to make it purple.
Starting to set up events, right-click on the Error button and select Set events > onClick.
Change the event type to Change layout.
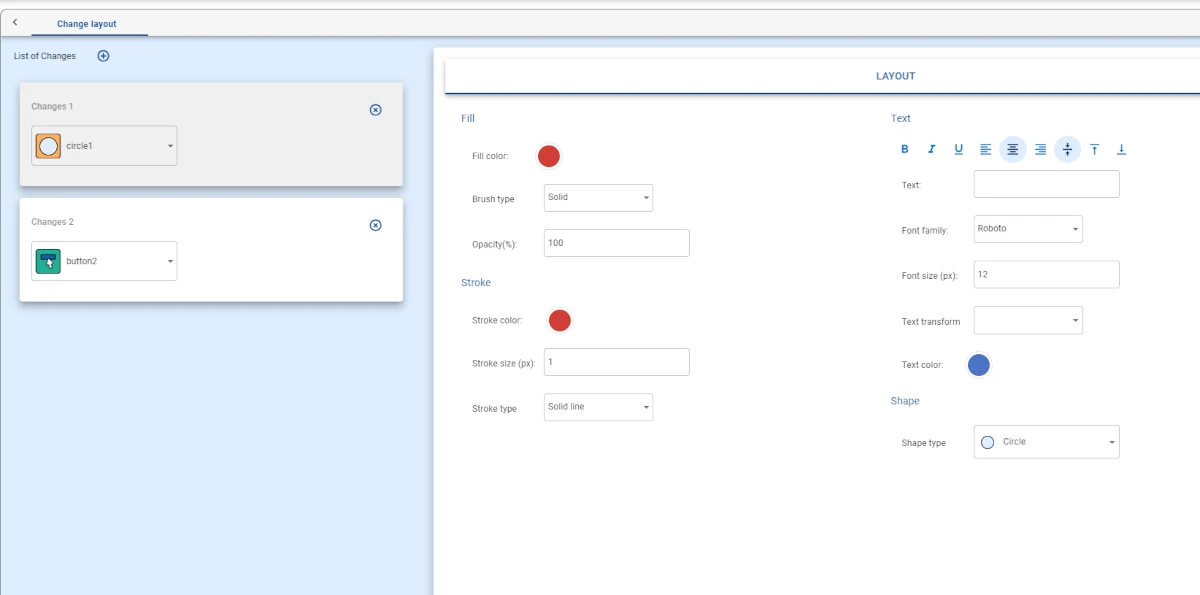
Click on the plus button to add a new change to the List of changes. Select circle1 from the drop-down list and define the new circle layout: in this case, only the Fill color and the Stroke color have been changed to red.
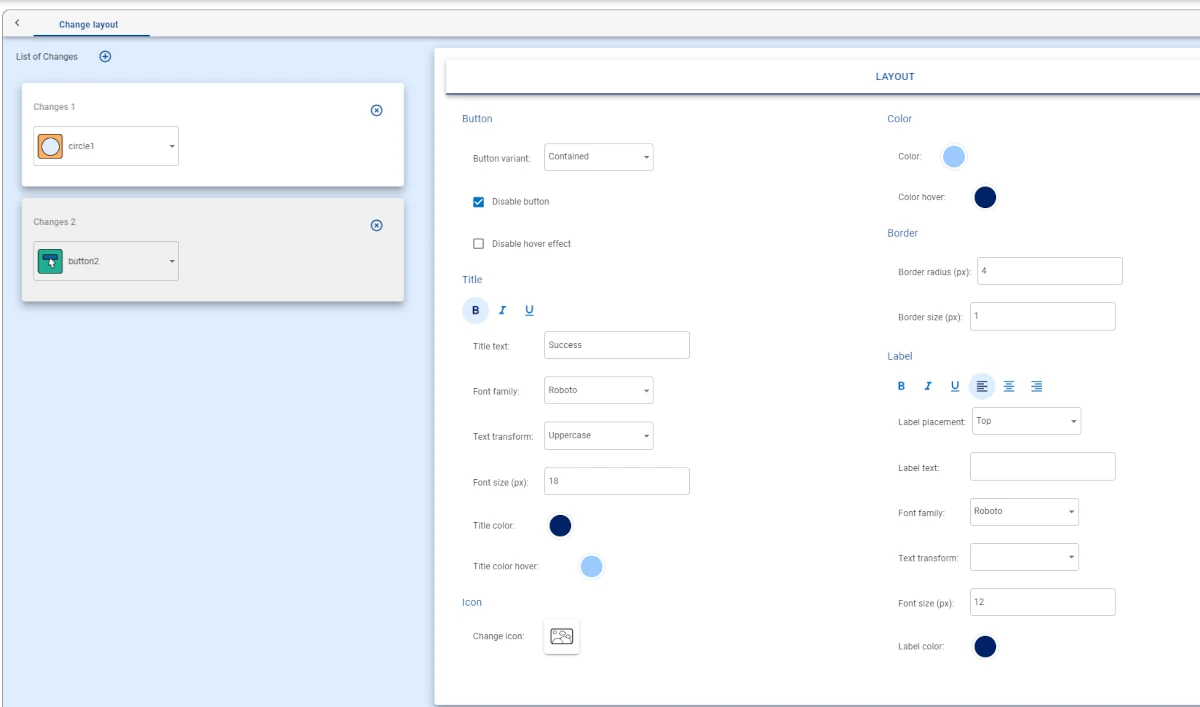
Then, click again on the plus button to add another change to the list, and select button2 from the drop-down list.
In the button2 layout menu, check the Disable button checkbox.
Click again on the plus button to add another change to the list, and select button1 from the drop-down list.
In the button1 layout menu, uncheck the Disable button checkbox.
Save and close the event.
Save the view.
Right-click on the Success button and select Set events > onClick.
Change the event type to Change layout.
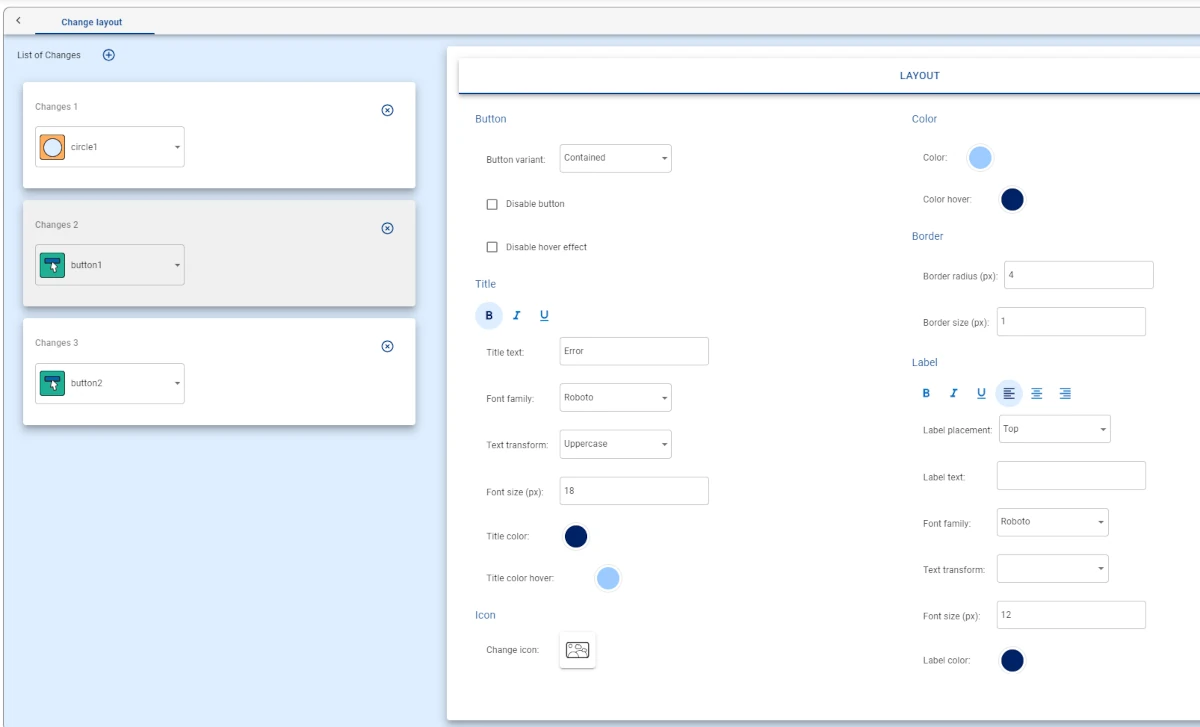
Click on the plus button to add a new change to the List of changes. Select circle1 from the drop-down list and define the new circle layout: in this case, only the Fill color and the Stroke color have been changed to green.
Then, click again on the plus button to add another change to the list, and select button1 from the drop-down list.
Uncheck the Disable button checkbox.
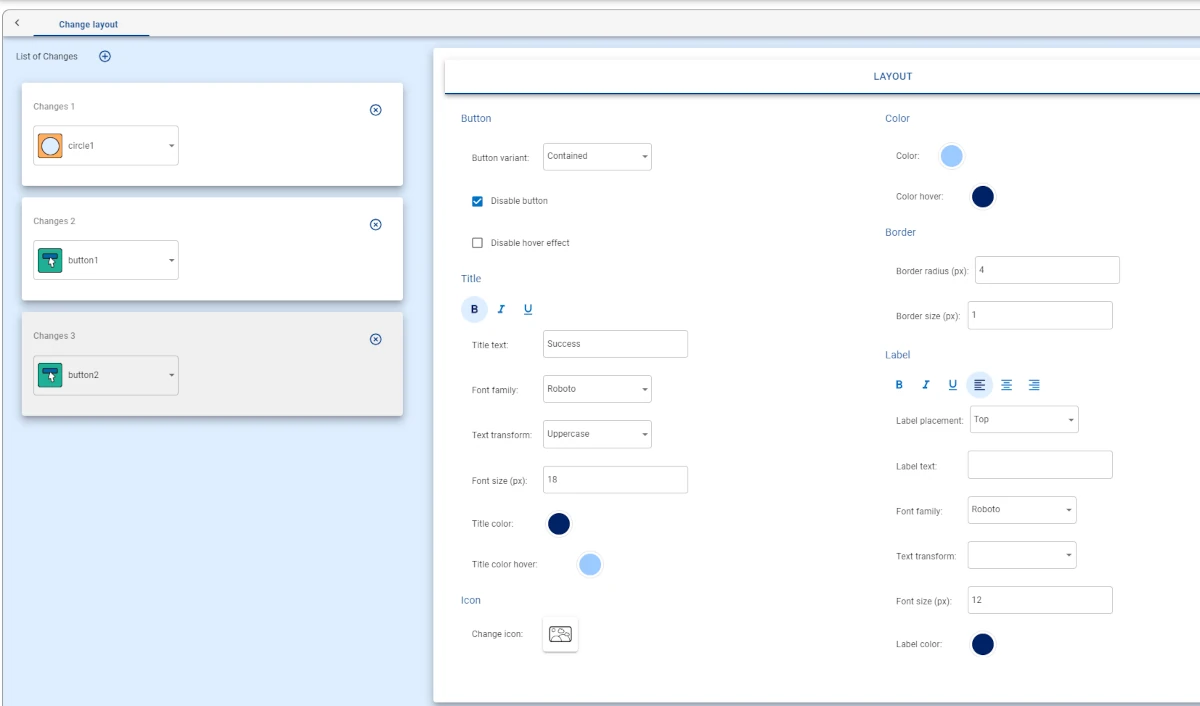
Click again on the plus button to add another change to the list, and select button2 from the drop-down list.
Check the Disable button checkbox.
Save and close the event.
Save the view.
Now, by clicking the Success button, the circle becomes green, while clicking the Error button will change the circle’s color to red.
